The Right Light in the Right Location
How many times have you wanted to have a light at just the right place in your camper, or you just don’t have enough outlets or you don’t have access to wiring just where you want it to be in your rig? Well, no worries! I have the solution for where there isn’t any hardwired electric.
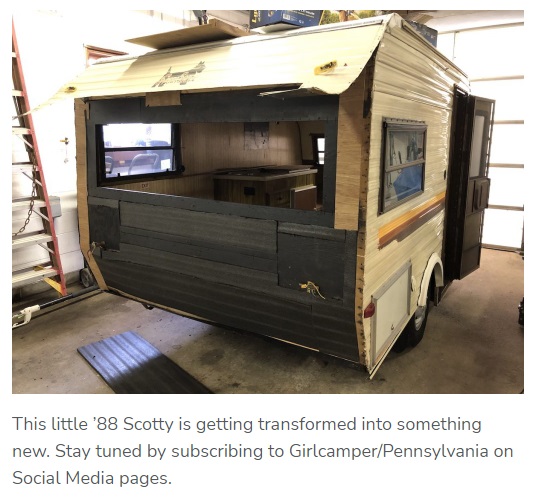
I just fixed some structural framing in my vintage camper due to some rot. While I had it peeled open like a banana, I thought about rewiring to put a light right where I wanted it, above the dinette, and also one back at my bed so that I could read at night. Then I threw that idea out the window because I just want to get my camper done and go camping.
I then had another idea from something I saw on an account I follow on instagram.
The Problem
Many vintage campers don’t have much lighting or outlet options, mine certainly didn’t being an ’88. This becomes a convenience problem. Where do I plug in this lamp? Or more of a problem, where do I put a lamp in such a small space? Or I have no electricity there, now what do I do? I would love a light right there, just like a chandelier but how?
The Solution
A long time ago I stumbled upon an instagram post about this subject and totally wanted to do this right away but didn’t have any place to use the trick. I bought the supplies and they have sat until I finally now finished my little 1988 Scotty camper.
Brooke from nestingwithgrace has put her idea to work in some reading nooks around her home where she didn’t have any wiring available without doing some major renos. I thought it would be the perfect time to add that chandelier to my camper!
How to Do This!
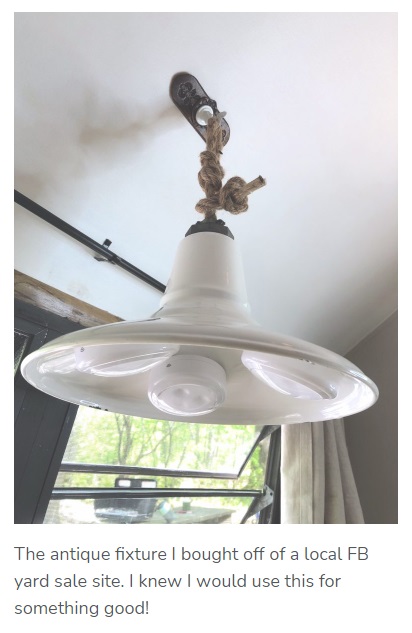
I need a fixture that I want to turn into a chandelier, a hook on the ceiling, a rope or chain to go from the ceiling and attach to the fixture and I also need the puck lights.
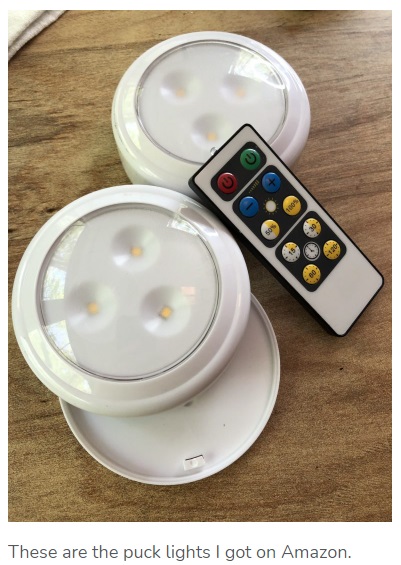
Puck Lights: https://amzn.to/3sENC9U
Amazon has many varieties of these pucks but I’ve heard these are the best. Mine have done really well just using them loose. They come with a remote.
I used E6000 glue to attach the puck to my fixture. These pucks have a mounting plate which is perfect because if something goes wrong with the light itself you can just put a new puck there. (as long as it’s the same kind, do keep that in mind).
Glue: https://amzn.to/3gs45Mo

E6000 is a wonderful glue that holds really well. It’s even great for outdoor applications. Heck I even fix my shoes with it. This glue could be found anywhere like Walmart or your local big-box store or Home Depot/Lowes or on Amazon. This tube is under $6 and will last you forever!
How Many Lights Do You Want?
I used three pucks because one or two was just not bright enough for my dinette. The set comes with 6 so no worries, I still have some left to use in other areas of my camper which still work on the same remote.
It’s so nice to just leave the remote on the table, or velcro it right inside the door, come inside and turn on all the lights in one swoop. These also have a dimmer AND a timer!!! I’ve also found that the batteries last really long since they are LEDs.

Get Creative with Fixtures!
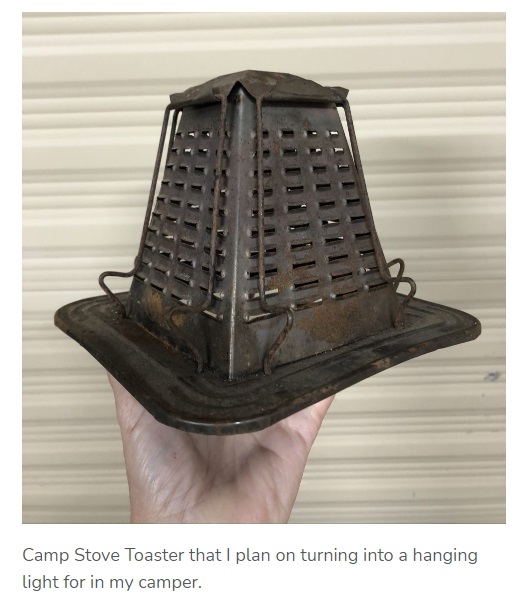
You could complete this project with any fixture. Maybe use a basket or get creative and use an old farm funnel. Even more fun….I’ve just found an old camp toaster in an antique store. It has slots on the sides which I thought would look great for a light fixture.
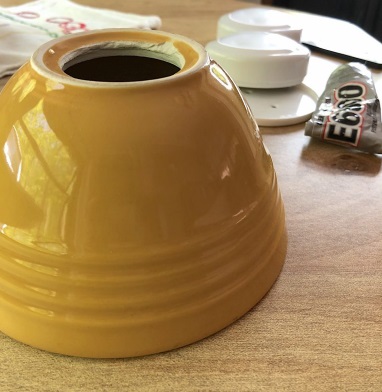
I even cut a hole in this bowl with a special drill bit for ceramic. (after breaking several teacups I finally got it down pat. Drilling holes into bowls, cups and saucers is tricky). I had used this fixture in another camper with a whole light kit in it with a plug. The plug was cumbersome and a pain to put up and down onto the ceiling hook because the wire needed to migrate to an outlet and it also didn’t have a switch. Plugging in and out wasn’t easy and was annoying trying to accomplish in the dark.
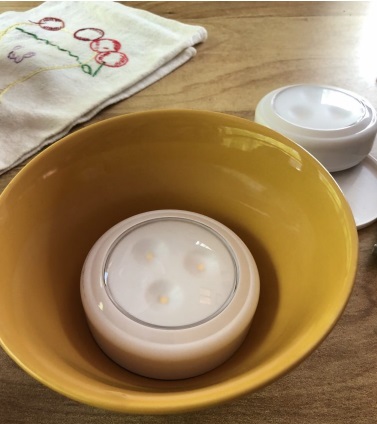
I will glue a puck inside this one and use above my bed for a reading light. Not quite sure how I will attach a rope or chain yet, but it will be something simple that will be quick to take down and lay on the bed for travel.
If you look at the picture towards the top of this post, I used a thick jute rope tied up pretty and a j ceiling hook screwed into the ceiling.
One note I’d like to bring to your attention…the hook needs to be just a J hook, you have to be able to just slide it off before traveling. You can’t just leave the chandelier up during travel, it will break a window or something. It’s like an earthquake going down the road. I take mine down and just lay it onto the bed with pillows around it for travel. It’s the last thing that comes down before closing the door.
You could for sure just get an awesome lamp from FLI Products – Fans, Lights & More! and set it on your table in your camper but this isn’t what I’m talking about here, I’m talking about a light that looks hardwired without having to hardwire anything. You do you!
I hope you try this out and if you do, please take pictures and I will feature yours on my GirlCamper Eastern PA instagram feed.
Happy Camping!
“Q” Your Pennsylvania GC Guide
When you shop at FLIProducts.com, be sure to use the discount code “GCEasternPA” (no quotes necessary) at checkout to receive free shipping and 10% off your entire purchase as a Girl Camper! (I am an affiliate, so if you decide to not go this route and just order from FLI just remember to use my GCEasternPA code and I will get a small kickback. Thank you, although not the purpose of this post.)
Follow along on our Pennsylvania Facebook Group, Our Facebook Eastern PA Page, Instagram, and subscribe to the GC Magazine to find all things girl camping!!


