
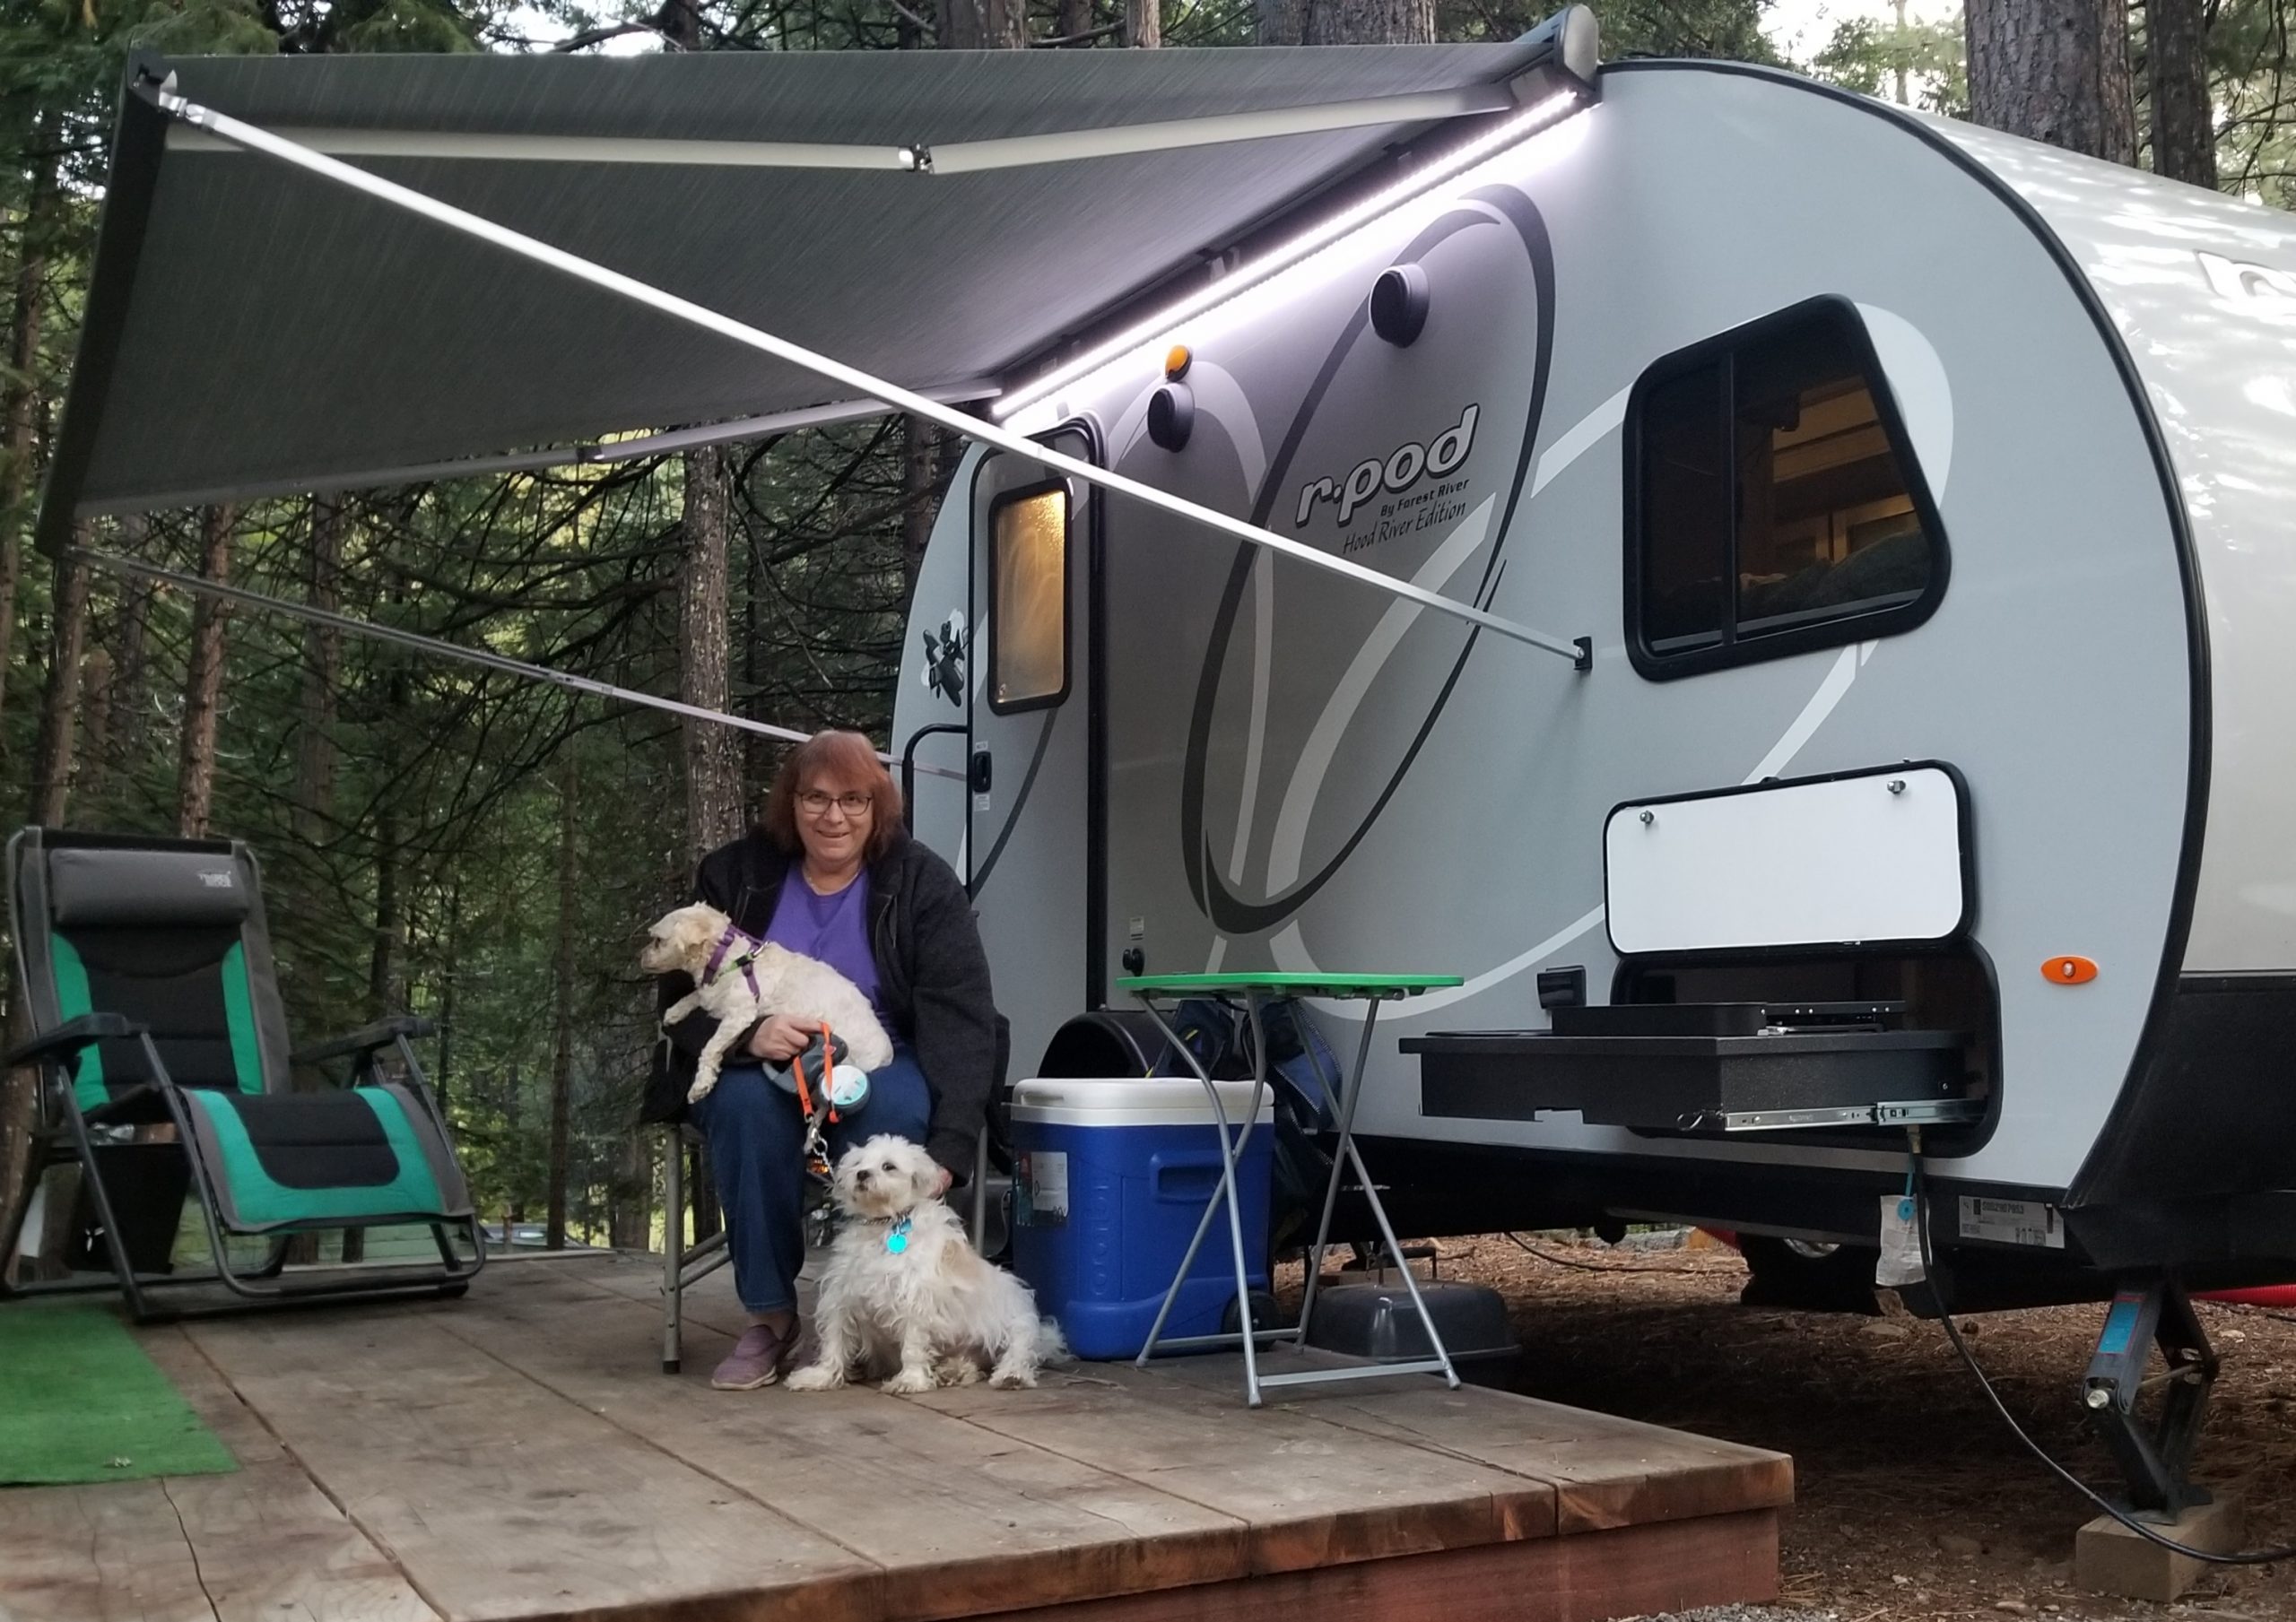
You don’t need a fancy camera and a lot of gear to capture interesting and pleasing photographs. To prove this, I used my cell phone camera for all the photographs in this article.
Whether you are taking a quick shot to remember the moment, or taking time to compose a shot that conveys a story or feeling, these ten tips will ensure your camping photos deliver satisfaction when you review them later to recall your adventures. For this article, I am including simple photos from my walk around a campground to represent the concepts, so you can see how easily you can apply these ideas.
1. Shoot in the early morning or late evening. Photography is the language of light. When you take a picture, realize you are composing the image with light. Midday light tends to be harsh, creating strong shadows and abrupt changes from light to dark. There are times when strong shadows and bright light are an important aspect of your image. However, most of the time your photos will be improved if you shoot in the first light of early morning, or the diffused light of late evening.
Once you’ve walked the campground to look for interesting subjects, determine to take your photographs at the time of day that will work best for the image you want to capture. You might take photos of the same subject at both early morning and late evening, so you can choose which one you prefer.
Overcast days are terrific for photography because we can take advantage of open light without strong shadows all throughout the day.
Campfire shots can be fun and moody. Shoot across the fire to light people facing you. Then, get behind people so they are in silhouette against the campfire. You can do the same type of thing with lanterns at night.
Have the kids hold a flashlight in each hand and wave the flashlights around as you quickly take shot after shot. In this case, you are literally painting the photograph with light.
Every morning, wake up and pay attention to the light!
2. Use the rule of thirds. Avoid putting your subject in the center of the shot unless you achieve a specific goal by doing so. Typically, your photographs will be more interesting if you place the subject to the left or right of the image, and in the top, middle, or lower third of the composition. This is a photo I’m including, but didn’t take during my walk around the campground. I chose it because it represents the rule of thirds so literally, making it easy for you to see what I am writing about.

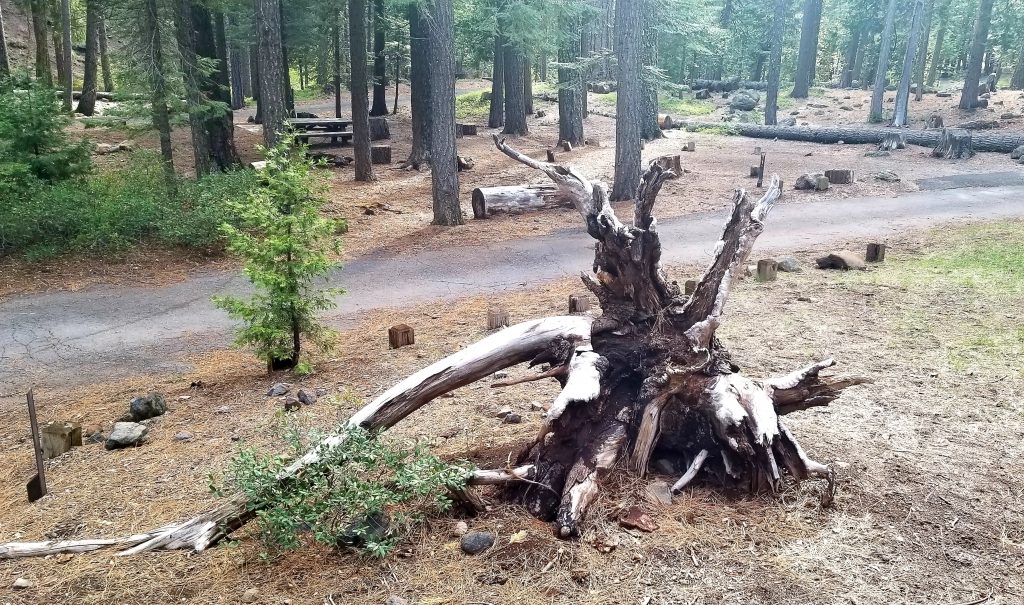
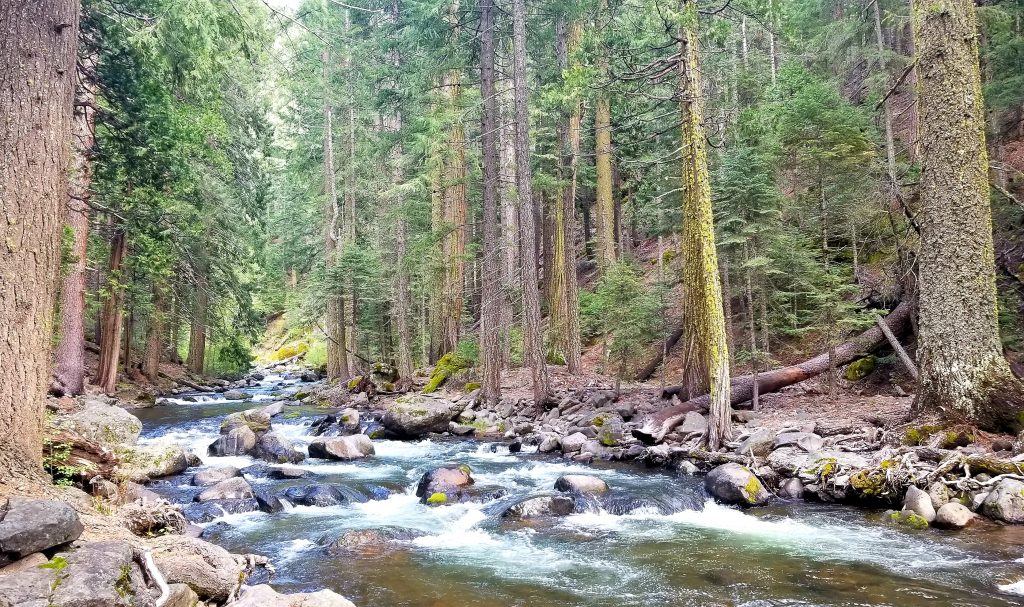
3. Get low. Whenever you take a photograph of something beautiful or interesting from standing eye level, imagine that same image captured by hundreds, or even thousands of people. Instead, squat down, sit on the ground, or even lie down on the ground to view the subject or scene from a different perspective. You might see something most others miss simply by seeing from a lower perspective. If you listen to the Girl Camper Podcast I guest-hosted for Janine Pettit (Episode 216 about these 10 tips), this is the shot I described. Many campgrounds in Northern California are surrounded by great hiking trails leading to meadows and open grasslands.

4. Elevate your shot. The opposite of getting low is finding something you can stand or climb on to shoot the photograph from an elevated perspective. Alternatively, you can set the timer on your cell phone camera, and lift the phone on a selfie-stick to achieve this same effect. If there is a group sitting around the campfire, I often circle them holding my camera as high as I can reach instead of shooting everything from eye level.
5. Look up. If you don’t look up, you are missing out. You won’t always see a shot that will work, but you will see things other people miss. Get right next to that tree trunk and look up. Stand right next to your RV or tent and look up. Take the rain fly off your tent, go inside the tent and look up. Before you close your eyes in the hammock, look up. Stand next to the flagpole and look up.

6. Look down. Getting right over the top of a subject can take a shot from boring to interesting. This is especially the case when you combine tips: get low, look down, and get close.
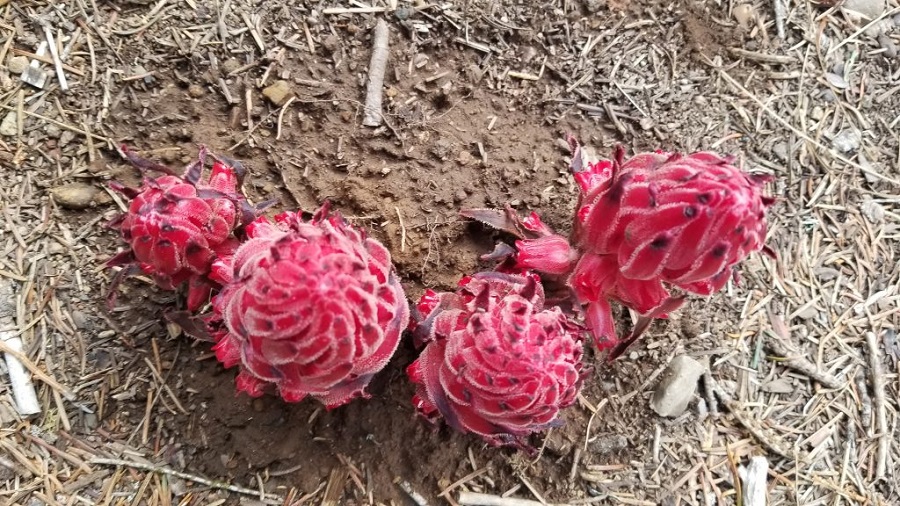
This beautiful plant is a parasite that helps keep the surrounding trees healthy.
7. Frame the shot with natural or man-made elements. Walk the campground and look for trees that “V” in the trunk, or boulders you can stand behind to capture an image in the foreground. This is an easy way to add interest to photographs of people in your camping group. Getting low and using the campsite number post to frame one edge of the photo of your tent or RV is an example of framing the shot. You can cut small branches with leaves and hold them on one side of your camera to frame any shot, making it look like you are shooting beside or through a bush or tree. Look for objects around your campsite you can shoot through for an abstract frame or frame that relates to the subject in some way.

8. Follow a line. If there is a walking bridge that spans a creek at the campground, place your subject against the rail and set your camera on the rail so the rail line leads the eye directly to your subject. If there is a dotted line on the road, you can ask your subject to stand on the line (when there aren’t any cars) and you can get low so that dotted line leads the eye directly to your subject. I live in cattle country, so I look for fence posts and barbed wire lines – the fence post frames the shot and the barbed wire can be a leading line to the subject. Trees often have branches that swoop low to the ground, and you can ask your subject to stand toward the end of the branch and you can set your camera on the branch. Your subject can lean on the rail of a pickup bed, and you can set your camera on the rail. Your subject can sit at one end of the picnic table and you can set your camera on the opposite end to take the photo. We are surrounded by leading lines and it’s fun to incorporate them into your photography.
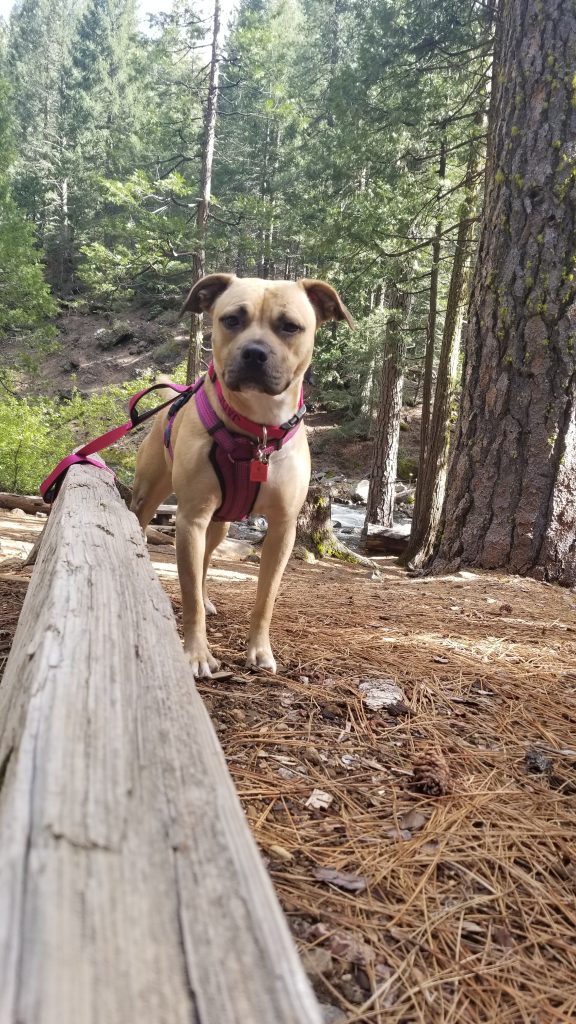
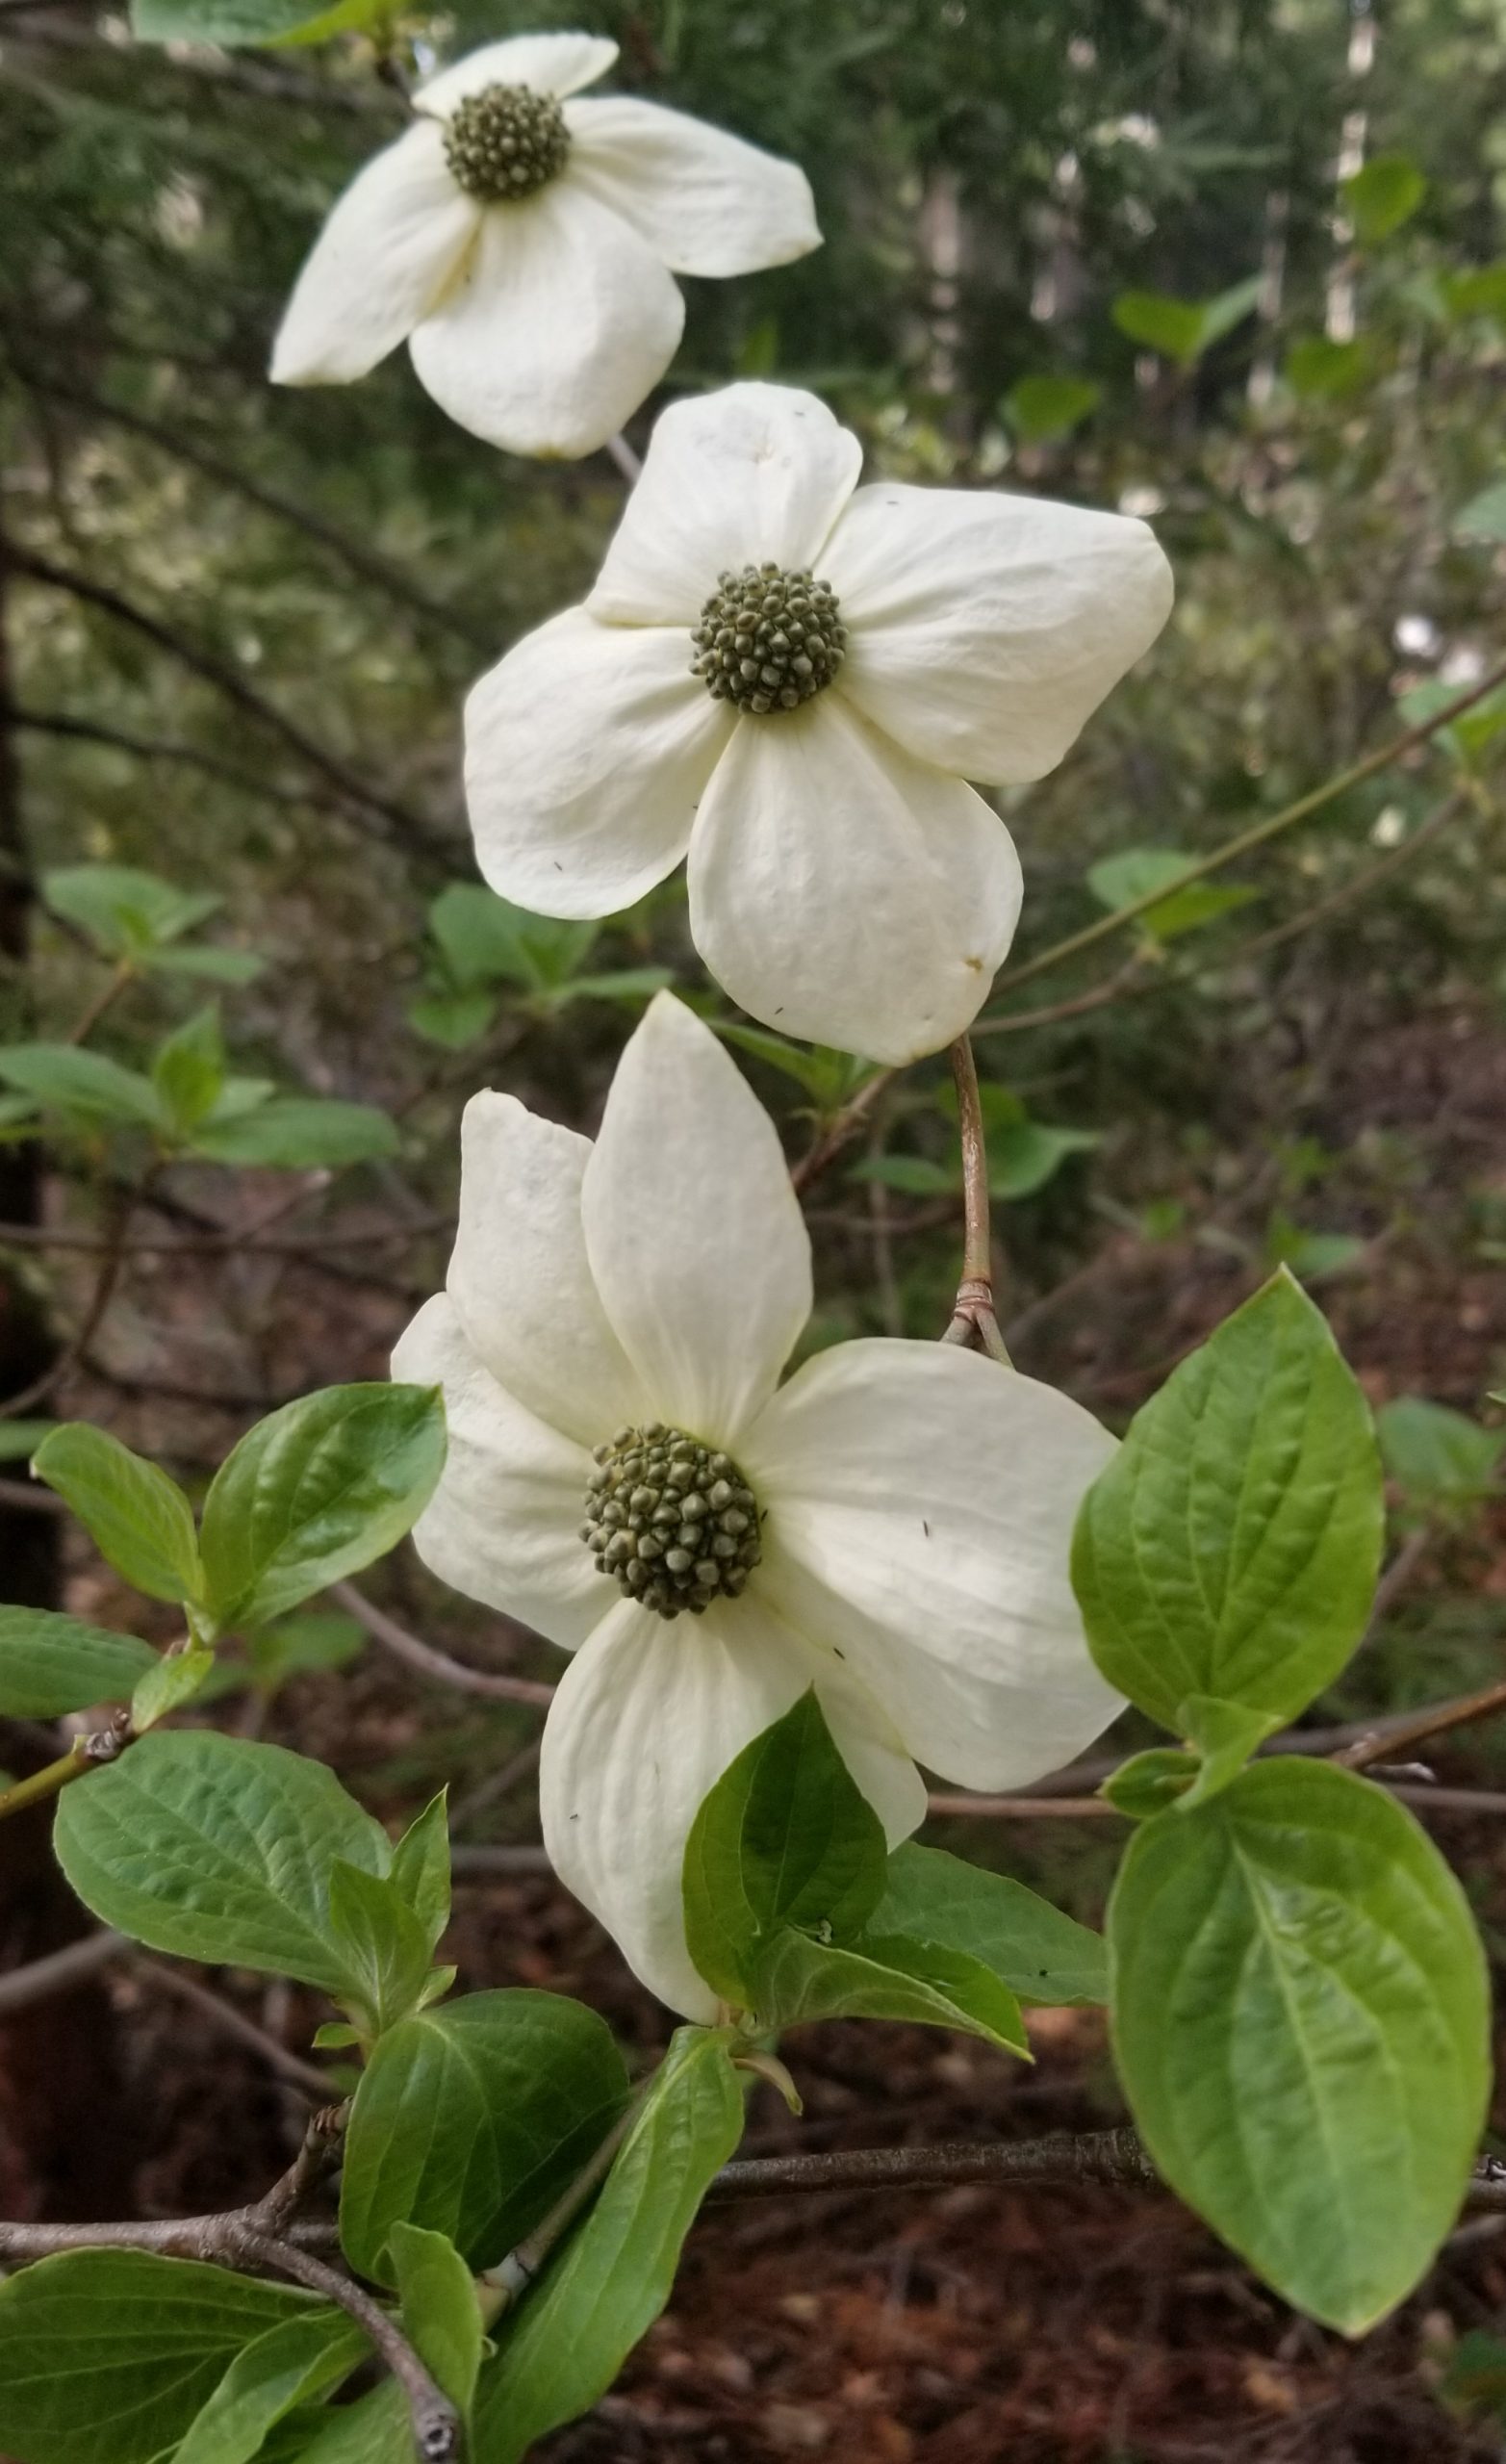
9. Get close to show details. Close-up photography is one of my favorite meditations. In close-up photography, it’s especially important to pay attention to the light: is it coming from the left or right? In the case of flowers, or anything translucent, will the shot improve if the subject is backlit? Is the light too bright, causing a washout of details? If so, come back in the early morning or late evening. Take your time to truly see what is in front of you.
I had written this article and taken this photo when I took a Girl Camper to see this campground before she makes reservations. I was tickled when she walked right up to this same tree to take photos of the wild Dogwood flowers.
10. Stand back to include environment. Mid and long shots provide more context for your subject. Maybe the landscape IS the subject, and the broader the shot, the more powerful the image might be.
A variety of perspectives is key to making your camping photo collections intriguing. If almost all of your photos are mid-shots taken at eye level, they all feel the same, even if the subjects change. It’s okay if your photos don’t always turn out as good as you hoped; you will know you are seeing things others miss when you apply these tips. I have quality cameras, but I believe observation and experimentation are the skills that pave the way for the camera to do its job.
Article written by: Catherine Goggia
To see the complete list of my articles, click here: https://girlcamper.com/northern-california/articles/
Do you travel often or tend to take long trips? Let RV Trip Wizard be your trip-planning copilot, telling you where the campgrounds and RV parks are that will accommodate your RV, trailer, or tent – plus get a free RV Life GPS account: https://www.rvtripwizard.com/#5ff359c12459b
My awesome pocket camera with 25x zoom and good video: Canon Powershot
My laptop for working on the road: Light and Powerful Laptop
Follow the Girl Camper Northern California page: Girl Camper Northern California
Subscribe to Girl Camper Magazine here! Award Winning Design
Check out upcoming Girl Camper Events – you can attend events in any chapter! https://girlcamper.com/events/


0 Comments