
It’s finally Spring in Indiana, or is it? Is that snow this weekend? It’s tough to tell with the temperature fluctuating, but one thing I’m sure you know is that it’s time to dewinterize your camper. Unless you are a full-time RV-er, this means bringing your camper out of storage and performing RV spring maintenance to get ready for the season. I’ve put together a guide to help you get your camper clean and ready to hit the happy trails!
The process should only take a few hours, unless you run into a major issue, and this can be done at a service center, but we are Girl Campers and honestly, you can do all of this yourself (save the money, get the experience!)
When Should I DeWinterize?
It’s up to you, just make sure that temperatures are consistently above freezing before you do. If a late cold snap happens to come through after you’ve already dewinterized, you can move your camper inside a warm area until it passes or use space heaters directed at your pipes —just make sure all your holding tanks are empty.
Here are Some Steps to get Started:
1, Check Your Tires
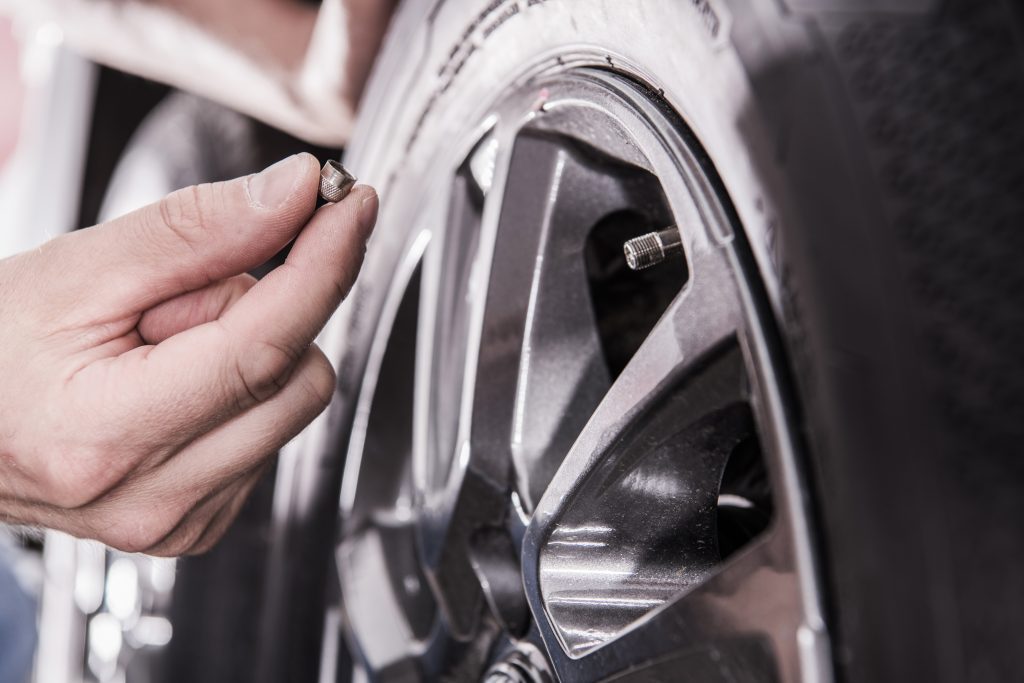
During the months of downtime your camper tires will lose about two to three psi of air pressure each month. If your camper is stored outside or somewhere cold, your tires may be even more deflated. Don’t drive your camper with underinflated tires it can cause poor handling, uneven wear, a blowout and may even lead to an accident.
2. Charge and Reinstall Your Batteries
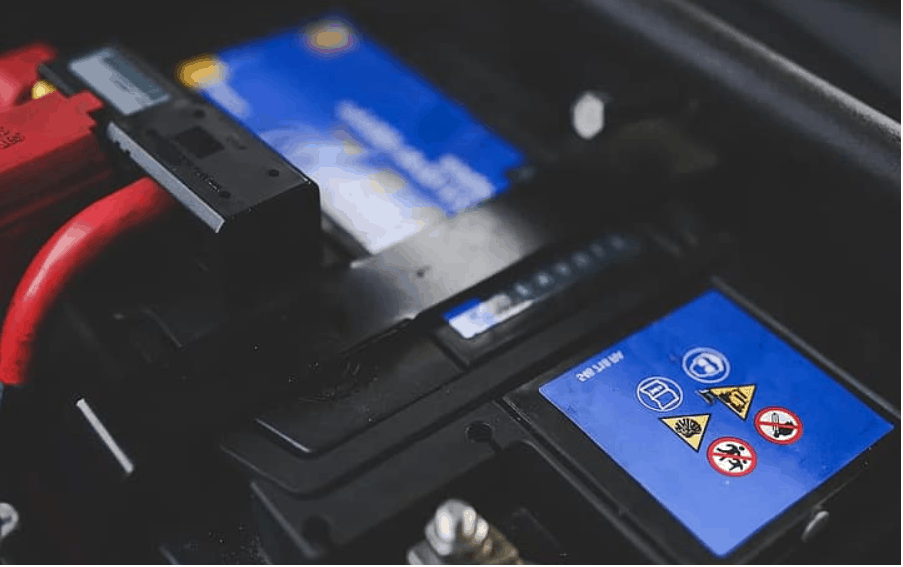
Start by inspecting your batteries and cleaning up any corrosion around the terminals. Inspect your batteries and use hot water and baking soda to clean any corrosion you find around the terminals. Just as your RV tires will lose pressure during storage, your RV batteries will also lose a percentage of their charge due to internal leakage. If they are not periodically checked and recharged during the off-season, your RV batteries lose a small percent of their charge each month that they are in storage.
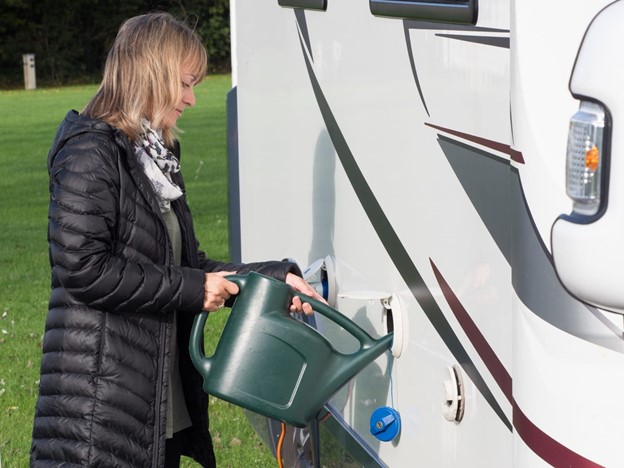
3. Flush Your Water System
Your water system dewinterization is one of the most crucial steps of RV spring preparation. When you are on the road, you rely on a clean source of water for cooking, drinking, washing dishes and showering. However, when you winterized your camper water system in the fall, you most likely added non-toxic RV antifreeze to the water system to prevent the pipes from freezing. This antifreeze must now be flushed out of the plumbing system so the water is clean and safe to drink.
You have three main tasks when it comes to restoring your water system:
- Removing RV antifreeze from the system. (Note: If you used compressed air to force the water out of the system when you winterized, you can skip this step.)
- Sanitizing the system so it’s safe for you to use.
- Refilling your water heater for use.
If you added anti-freeze directly to the fresh water holding tank, the first step is to drain the tank entirely. Add potable water back into the fresh water holding tank and then follow these steps for how to flush antifreeze from your camper water system:
- Turn the water pump on.
- Open all water faucets, including sinks and indoor and outdoor showers.
- Allow water to run through the system for several minutes.
- While the pump is running, flush the toilet a few times.
- When the water comes out clear, close the faucets and turn off the pump.
- Take the water heater out of bypass mode.
- Replace all water filter cartridges that you removed for storage.
- Dump your gray and black water holding tanks at an official dump site.
If your water heater was not put into bypass mode for winter storage, you will also need to drain the camper’s antifreeze from the water heater tank and collect it for disposal. Do this before replacing the water filters.
After flushing your water system for several minutes, your water should taste clean and fresh, but if it still has a residual antifreeze taste, you can add baking soda to help remove this unpleasant flavor. Simply sprinkle baking soda directly into each drain or dissolve it in water and pour it down the drains. Flush the system again until the water tastes clean.
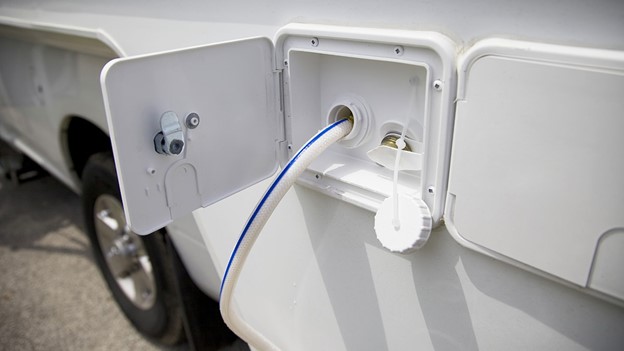
Instead of using your camper’s water pump to flush antifreeze from your camper’s water system, you can also use a garden hose or city water supply. Begin by attaching the hose to your water hookup instead of turning on the RV water pump, and then follow the same steps described above.
4. Sanitize Your Water System
The second essential step for dewinterizing your RV water system is to sanitize it. Even if you did not use non-toxic antifreeze to winterize your plumbing system, sanitizing your water system is still important for removing any bacteria or mold that could have grown during the months in storage. Follow these steps to sanitize your RV water system:
- Close all drains and install drain plugs.
- Measure one-quarter cup of household bleach for every 15 gallons your fresh water tank holds.
- Pour the bleach into a one-gallon container and fill it up with water.
- Add the bleach and water mixture into the fresh water tank fill.
- Fill the fresh water tank entirely with potable water.
- Turn on the water pump and open all faucets.
- Run the water until you can smell the bleach and then close the faucets.
- Let the solution sit for up to twelve hours in the water tank and water lines.
- Drain all of the water from the system.
- Refill the fresh water tank with potable water.
- Flush the system by turning on the water pump and opening all faucets.
- Allow the water to run until it no longer smells like bleach.
When sanitizing your camper water system, it is important to allow the bleach to sit for long enough to effectively eliminate harmful bacteria. However, leaving bleach in your water lines for too long can cause synthetic seals to deteriorate more quickly. To effectively sanitize your water system without damaging plumbing components, let the bleach solution sit for at least a few hours but no longer than 12 hours.
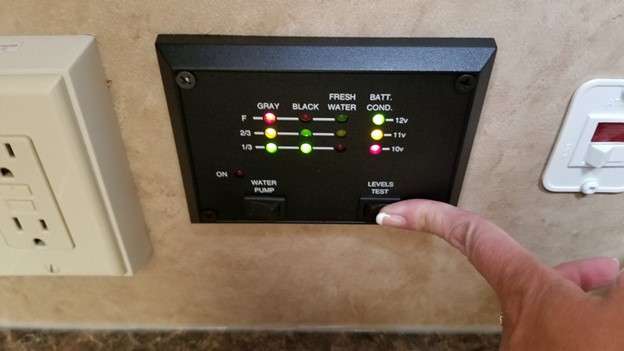
5. Check For Leaky Pipes
While you are preparing your camper water system, check your plumbing system for any leaks. With water in the fresh water tank, turn on the electric pump and allow it to pressurize the water system. When the system reaches full pressure, the pump will shut off. Listen for several minutes to hear if the pump turns back on. If the pump cycles back on again or does not shut off at all, there is a leak somewhere in your plumbing system.
Locate the leak by checking the pipe system and looking for leaks under sinks. Check the toilet for leakage around the edge. Leaks may also cause water damage if not addressed quickly. Repair any leaks you identify or take your camper to an RV repair service if you are not comfortable fixing the leak on your own.
6. Replace Propane Tanks
If your camper uses propane, reinstall your propane tanks on their mounts and connect the hose. Make sure the hose is fitted tightly by turning on the propane valve a little bit to open the gas line. Apply soapy water to each of the hose connectors using a sponge or small spray bottle. Watch to see if any bubbles form, indicating that there may be a propane leak. Tighten the fitting and repeat the process to make sure it is tightly connected.
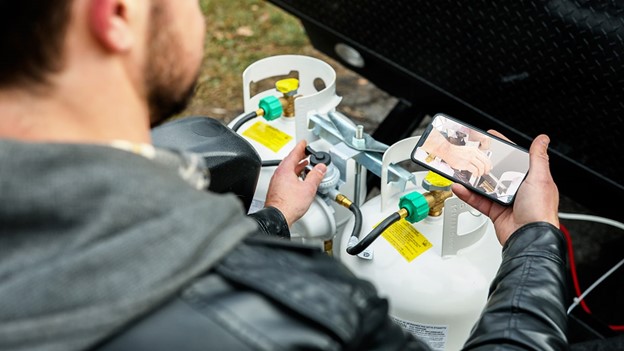
If your RV has refillable propane tanks, take them to a propane station to be filled. Some states require propane tanks to be recertified periodically. If your state requires propane tank recertification, make sure your tanks have not expired and ask when your tanks will need to be recertified.
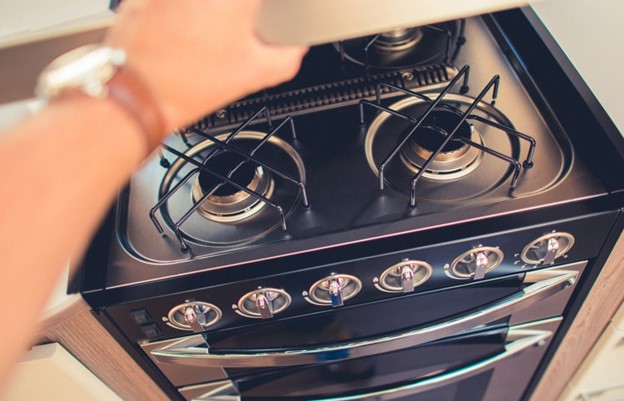
7. Check Propane Appliances
After your propane tanks are reinstalled, check that all of your LP gas-fired appliances are working properly by opening the gas line and testing each appliance. When testing the hot water heater, make sure it is full of water first.
If any of your gas-fired appliances are not working, schedule an inspection with a certified RV maintenance service. Propane leaks or ignition issues can be dangerous and are best handled by professionals.
8. Test 120 Amp Appliances
If all of your propane appliances are operating properly, plug in your unit and test the 120-volt appliances. Make sure you are using a sufficient electricity source of 30 or 50 amps, or appliances like air conditioners and microwaves may not run properly.
To test your refrigerator in electric mode, first, turn it off and then open the doors to allow it to return to room temperature. Plug it back in once your camper is connected to an electrical hook-up.
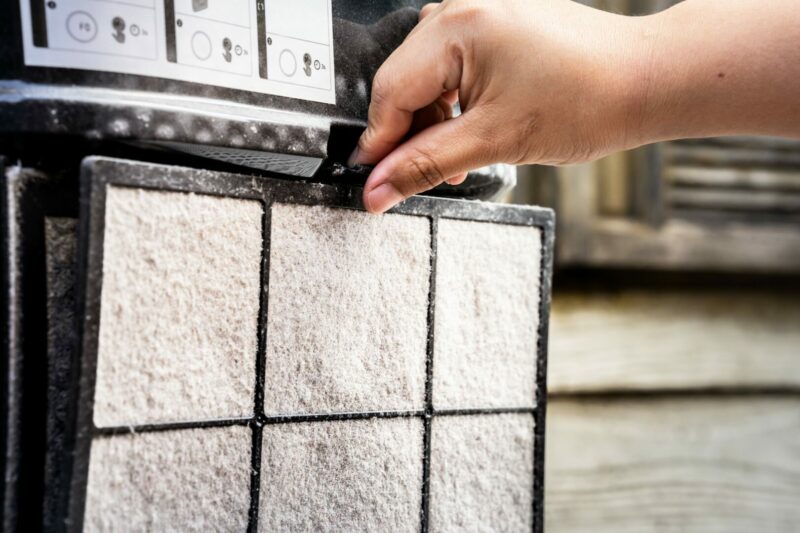
9. New SEASON – New FILTERS
During RV spring maintenance, change out all of your air and water filters. Air filters can collect a lot of dust and debris during a busy camping season, so start the season fresh with clean filters. Changing filters in your air conditioner and water systems can also improve the efficiency of your systems and save energy. When changing air and water filters, make sure to purchase the correct size for your air conditioner and water system. Ensure the filters fit snugly to effectively filter out dirt and bacteria.
10. Open Those Windows and Air Vents
As part of your spring maintenance, open all of your windows and air vents to make sure they are in working order. Air vents ensure proper air flow through your camper to prevent excess humidity and keep you cool all summer long. Properly functioning air vents become even more essential when you turn your heat back on in the fall, as they protect against toxic gas build-up inside your camper. Opening all of your windows will also refresh your RV with clean spring air after you take it out of storage.
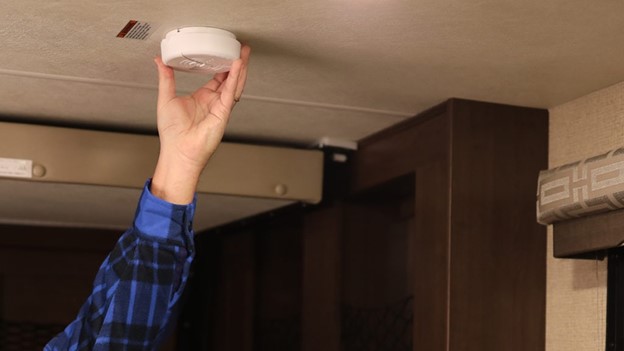
11. Check Out Your Safety Devices
Before heading out, make sure all of the safety devices in your camper are operating properly. This includes your smoke alarm, fire extinguisher, carbon monoxide detector and LP detector. Install new batteries in all battery-powered safety devices. Test your carbon monoxide detector and smoke alarm. Make sure you know the symptoms of carbon monoxide poisoning!.
Look at the expiration date on your fire extinguisher and purchase a new one if yours is outdated. If your RV has a dry powder fire extinguisher, release any powder that may have settled during storage by shaking it and tapping it on the bottom. Make sure you know how to properly operate your fire extinguisher and know what each safety alarm in your RV sounds like. Planning for safety in advance can help ensure a smooth and carefree RV camping season.
12. Get Your Inner Superhero On –
Check your First Aid and Emergency Supplies
Another crucial step is to restock your first aid and emergency supplies. Check the expiration dates on any medicines and restock any first aid supplies that are low. Get rid of any dry food that has expired and make sure your camper has plenty of bottled water in case of an emergency. Your RV emergency kit should also include tools and other supplies for emergency RV repairs, such as pliers, a hammer, screwdrivers, extra oil and coolant, hoses, batteries and leveling blocks. I highly recommend investing in an impact driver to remove lug nuts and raise stablizers.

13. DON’T MOVE AN INCH….Check Your Registration and Insurance
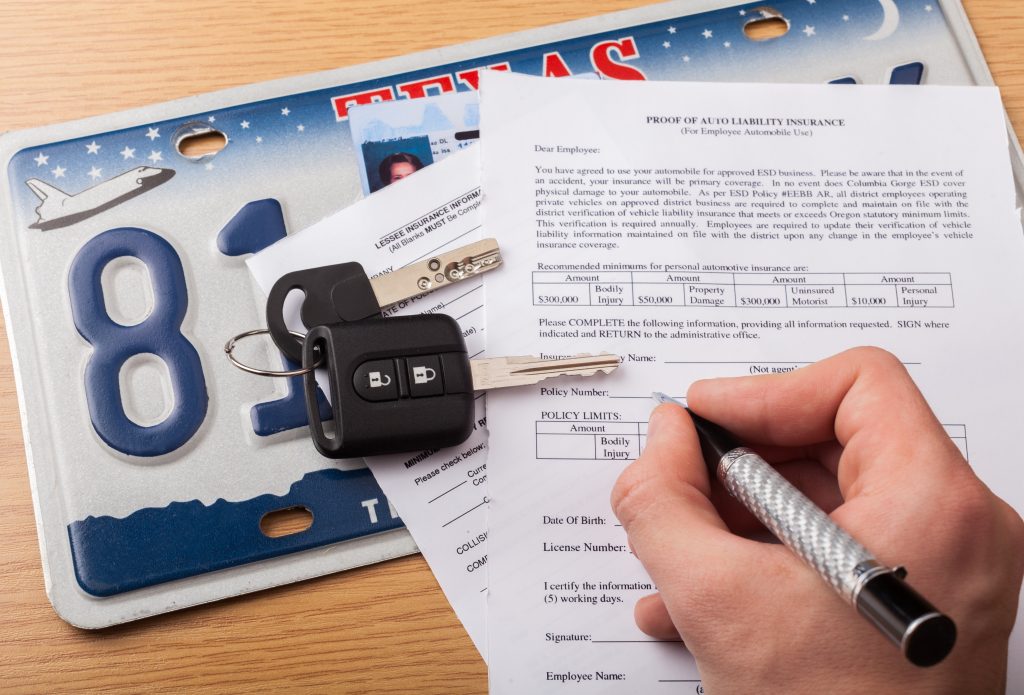
The final step for getting ready to travel is making sure your papers are in order. Check that your RV registration is up-to-date, as well as your vehicle and camper insurance and emissions sticker (if needed). If you have a towable RV, you may not be required to keep it insured, but having insurance can be a smart investment to protect your camper in case of an accident. Last season I pulled into my dealership for minor repairs only to end up rubbing my camper awning along the front of a 5th wheel. It turned out quite expensive and would not have been covered under my auto policy!
Store your documentation in an accessible place in your RV. Should you ever be pulled over or have an accident, you will be happy to have all of the necessary paperwork on hand. Speaking of paperwork, do you have a copy of your fur-babies’ shots on hand too? Hmm, next article perhaps.
Now go out and Camp Like a Girl!
Lisa Singleton | Girl Camper Guide to Indiana 
Connect with Lisa & her Girl Camper Group
![]() Facebook Page – this is the link for where you can tag us and we can tag you!
Facebook Page – this is the link for where you can tag us and we can tag you!
This is where I’ll share general Girl Camper news, events and more.
![]() Facebook Group – Please join the private Indiana Group so you can participate in this supportive and fun Community!
Facebook Group – Please join the private Indiana Group so you can participate in this supportive and fun Community!
![]() Instagram follow me for snap shots of the camping life
Instagram follow me for snap shots of the camping life
![]() YouTube check out our latest videos and tips for Girl Camper
YouTube check out our latest videos and tips for Girl Camper
![]() Events Be sure to check out the Girl Camper Events I’m hosting.
Events Be sure to check out the Girl Camper Events I’m hosting.


0 Comments