Podcast: Play in new window | Download (Duration: 21:39 — 9.9MB)
Have you wondered if there’s a pecking order to setting up the RV once you arrive at the campground? Well, there is! Today I am going over the steps to help you make sure you don’t make a costly mistake but, before we cover that I want to chat for a minute about the whole backing in thing! If you’ve been at this for a while, please think back to your beginner days and remember the fear that once struck your heart at the mere thought of backing a trailer or motor home into a site. Bear with us for a minute while we encourage the newbies.
For two years I only camped in pull through sites because I didn’t know what the he** I was doing! After several humiliating efforts at campgrounds I resolved to simply pay extra and stay in a pull through site. That all changed one day when my friend Salliane Brown offered, not to park it for me, but to walk me through the process using her method for backing in. Once I did it I was so proud of myself that I parked every Girl Campers trailer as she arrived for the weekend. I got it down and although I still have to pause at times and really think about what direction I want to turn the wheel, I very rarely need help getting backed in. I do make these few suggestions to those still on the learning curve though.
Tips for overcoming the FOBI – Fear of Backing In
- Just give it the old college try. Each time we try, even if we don’t succeed, we have learned something. I joined a ladies golf team once and just couldn’t tee off straight to save my life. On the last week of play I stepped up to the tee box and for reasons I cannot understand, the swing all came together. Suddenly knees bent, elbows straight, head down, eye on the ball all came together at once and worked. The ball sailed straight down the green. It was a beautiful sight. It seems to happen this way with backing in too. Just keep trying.
- Get out of the tow vehicle and walk your site. Look for where the hook ups are; check for low hanging branches that might scrape your roof; see if the picnic table or fire ring are going to create a problem. When you are standing at the back of your site look at your rig and see if it is pulled up enough to make a tight turn into the space. Sometimes this is much clearer from the back of your site than it is from a side or rear view mirror.
- If you have tried and are getting frustrated and feeling low – ask for help. There’s no shame in that. What is a shame is staying home because you are not yet good at one aspect of RVing. Many times someone from the campground will help you and if that’s not the case, there is usually a Good Samaritan nearby to pitch in. Sometimes you don’t even have to ask, they will come out of the woods like woodland fairies and offer assistance.
- Only take direction from one person at a time. It seems that the fairies sometimes arrive in droves and they all want to assist together. There’s nothing helpful about three different people set up at three separate angles all chiming in together. Just concentrate on one persons directions and tune the others out.
Once you have arrived at the site:
- First check to see where your hook ups are. It’s an awful feeling that I have personally experienced when you are all unhitched and stabilized and you go to plug in your water or electric and you are too far away from the hookups. The sewer hose is normally the shortest so check to make sure you will be able to reach it from the spot you have chosen to put your RV in.
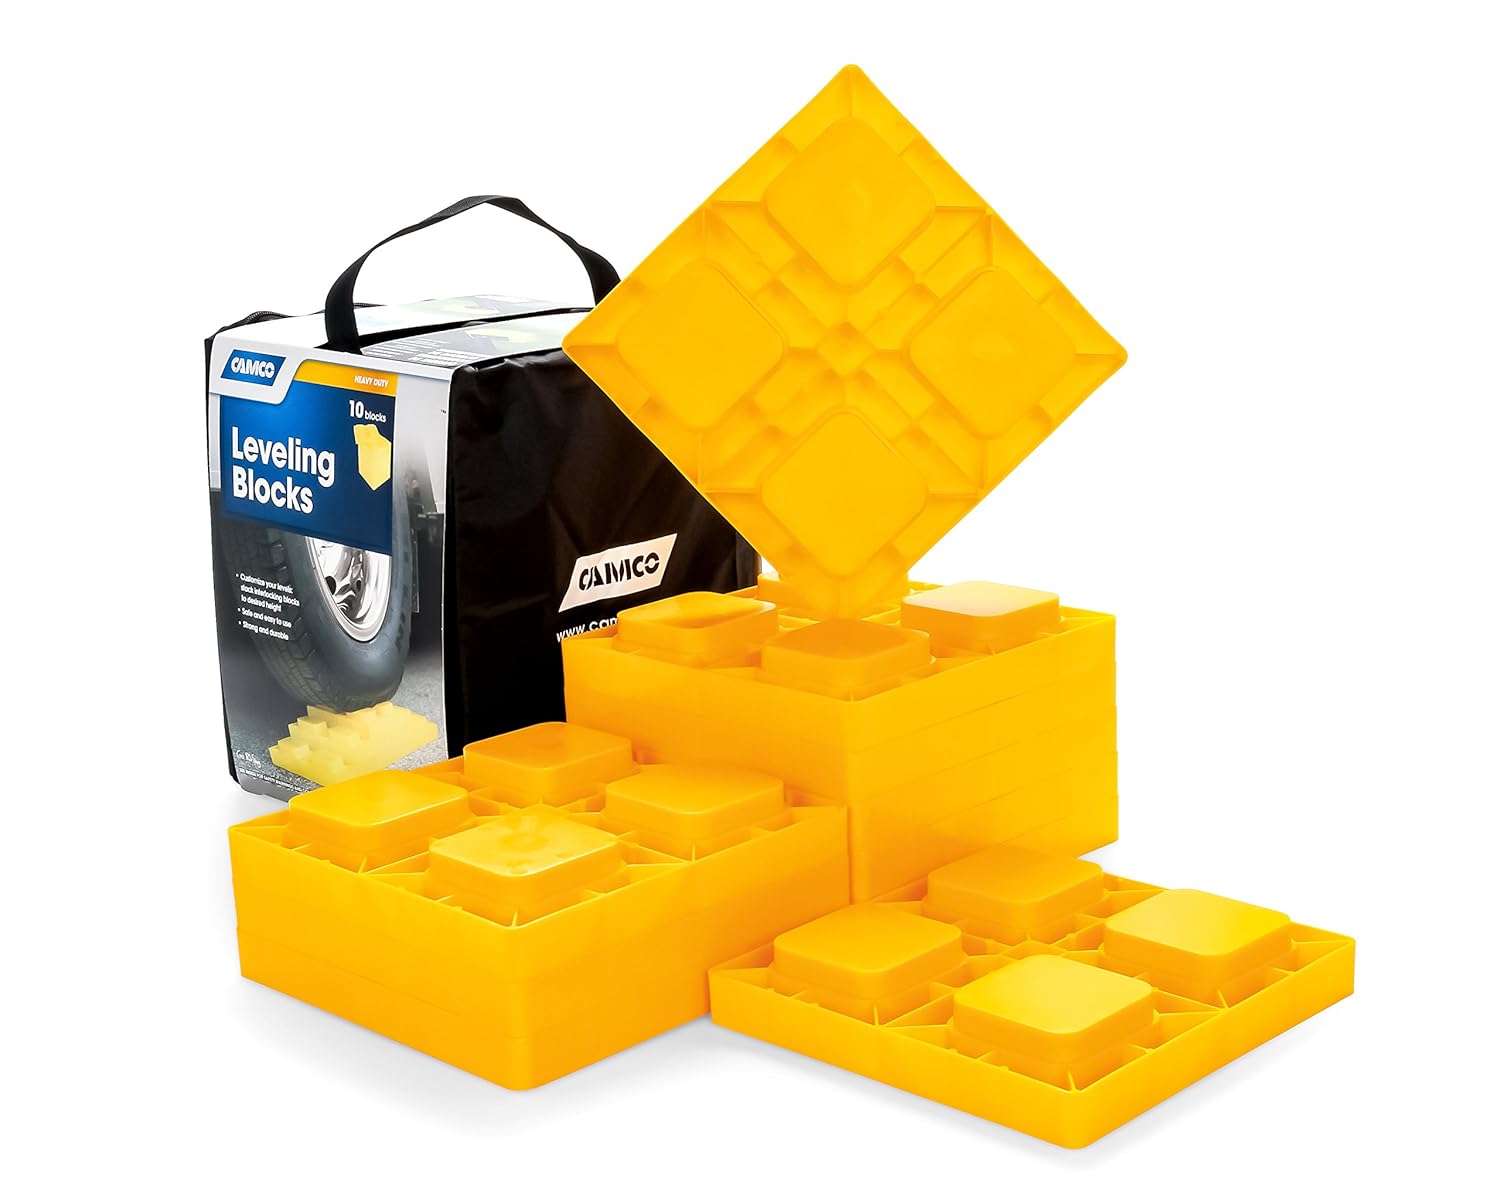
- Check to see if your RV is level left to right. It can be off a little bit and not bother you but if it is higher on the door side that will could mean you are sleeping at a slight downward angle if your bed is set up with the head on the opposite wall. I use the Camco Leveling Blocks to raise mine when necessary.
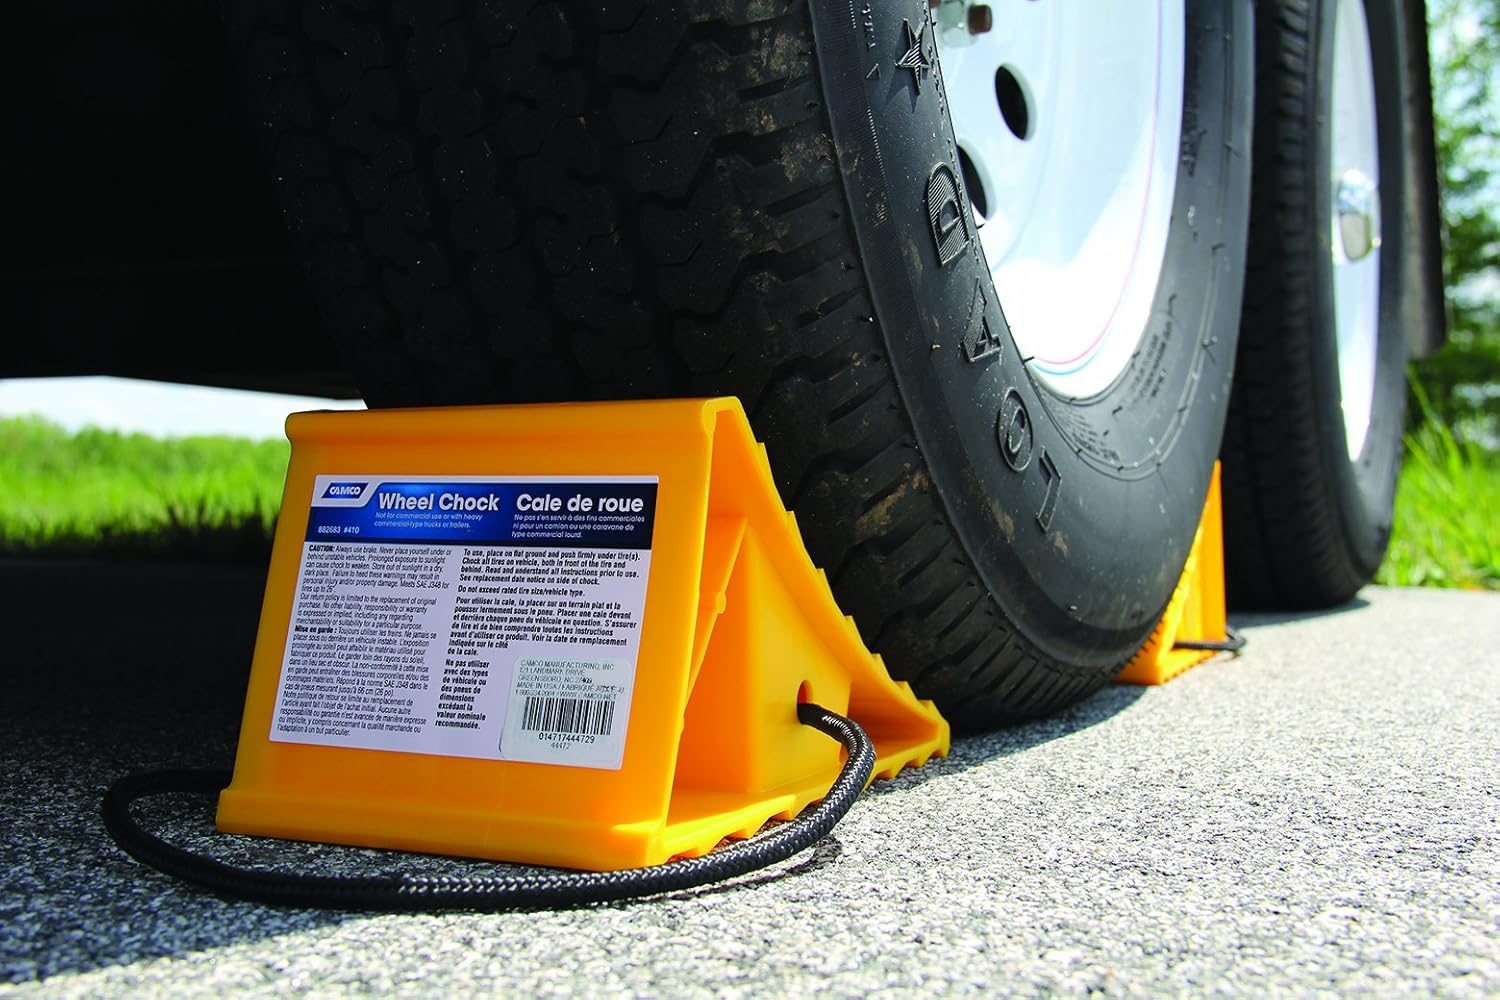
- Put your wheel chocks in place. Even if your site seems level, even a small slope backwards can cause your trailer to roll when you lift it off the hitch. Because a trailer is so heavy, it can pick up momentum pretty quickly. I place a front and back chock on my tires as soon as I have finished leveling the RV from side to side. I use the Camco Chocks.
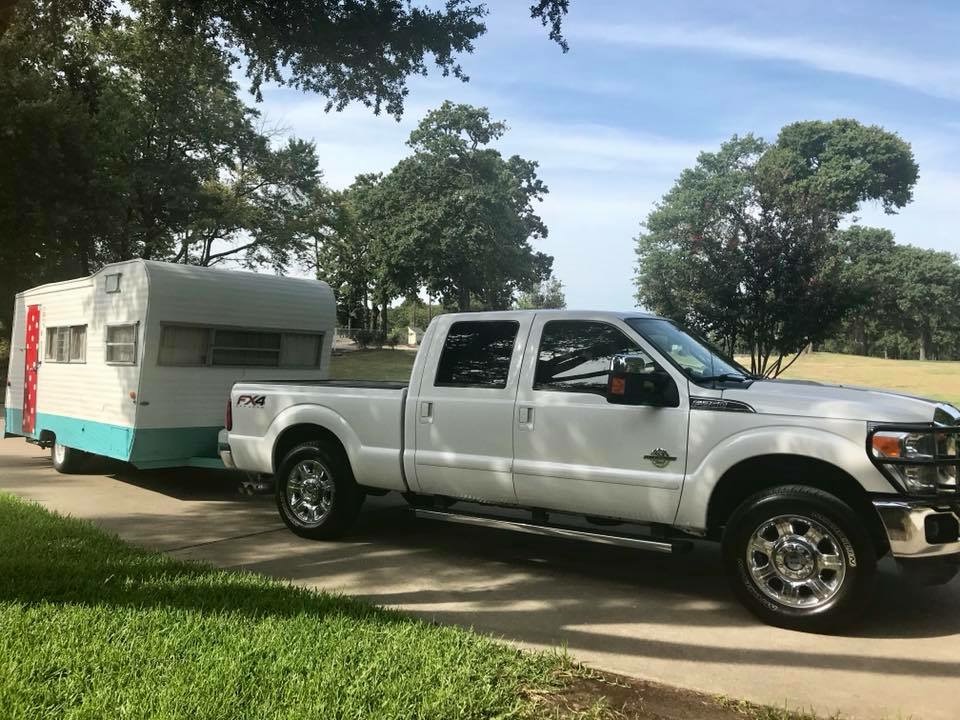
- Unhitch from the tow vehicle. Unhook the chains, disconnect the seven way switch and brake away switch, remove the safety pin from the coupler and unlatch the coupler. Raise the tongue jack until the coupler clears the hitch ball and then pull your tow vehicle forward.
- Level the trailer front to back by raising or lowering the tongue jack.
- Once it is level, drop the stabilizing jacks. I normally put my stabilizing jacks down on blocks of wood or the leveling blocks. Do not use the stabilizing jacks to level the trailer. They are not designed for that.
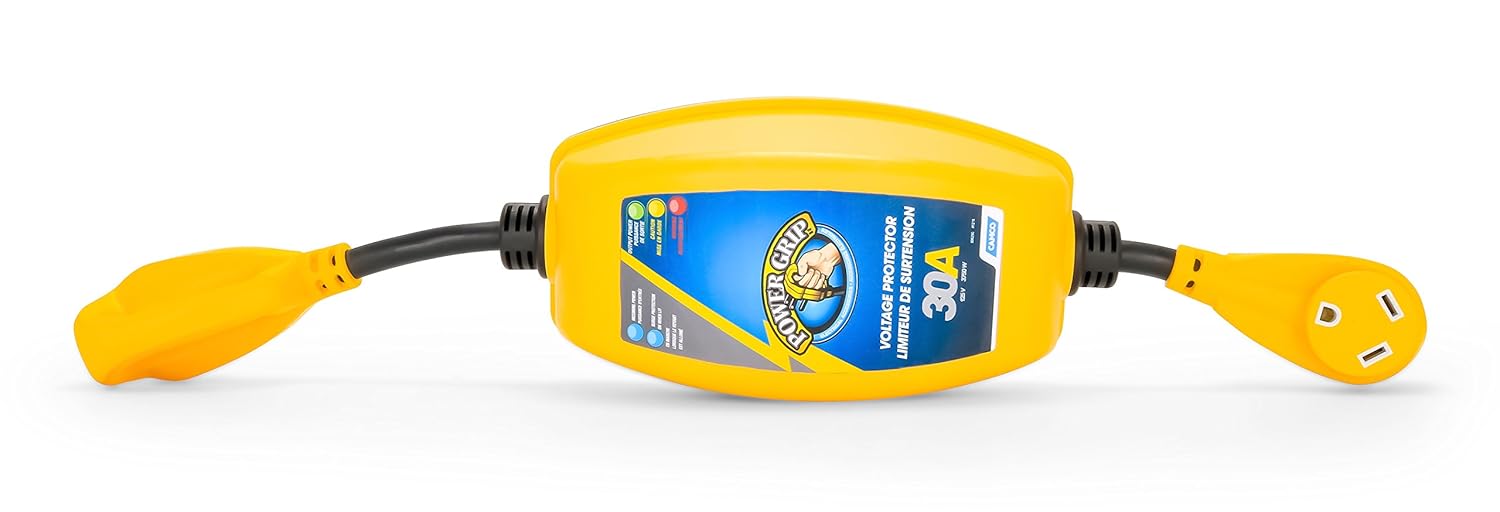
- Connect water, electric and sewer if you’re camping with full hook ups. I start with the electric by plugging in my Camco Power Defender which will protect my RV’s electrical system in case of a power surge but will also tell me if the pole I am connecting to has any problems such as a reverse polarization. Once you plug in you may have to throw the switch to get the electric to come on. I then add my water filter and connect the hose to my trailer. I connect the sewer hose last. I don’t bother with the sewer hose unless I will be at a campground for more than two days. If I am just camping for a weekend I hook it up when I’m leaving and do the dumping then.
- Once these things are done I head inside to make sure my fridge has switched over from propane to electric. I drive with the propane on in order to keep my fridge cold. If you do too please remember to turn off the propane tanks when you are getting gas. Do this before you approach the pump. I then run the water to get any air out of the lines and add a little water to the toilet bowl. I always leave some water in the black tank so I don’t have to add much. When I dump the tanks before I leave the campground I add the TST drop ins. Lastly I pull out the items that live on the counters while I camp, drop the awing, put out my camp rug and chairs and let the fun begin.